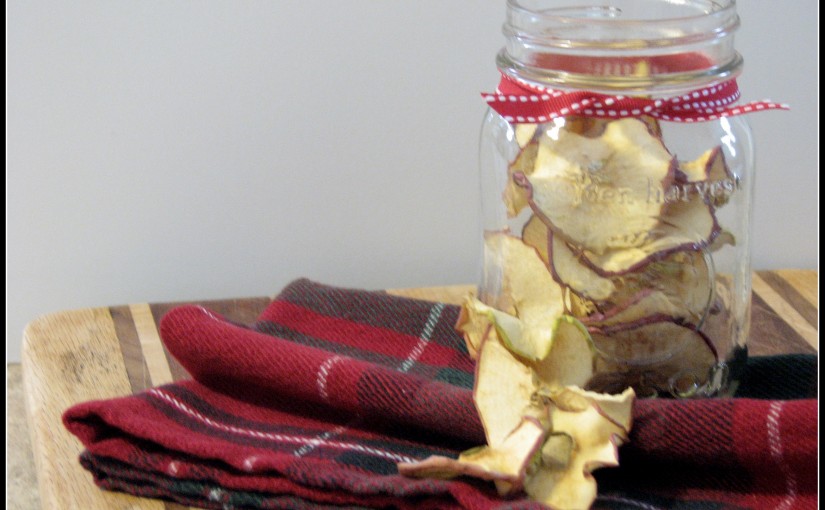
I was recently at my friend’s place and was offered some delicious dried apples. I noticed each apple slice had a delicate, ruffled edge. I was impressed with my friend’s creation and asked her how she did it. She used an Oneida slicer to thinly cut her pink lady apples. The peeling was left on, thus producing the delicate, ruffled edge once dried. My friend kindly let me borrow her slicer and my mom shared some of her apples with us. I was going to dry the apples in the oven on a low temperature setting; however, when I mentioned to mom what I was going to do with the apples she offered her dryer.
Dried Apples
A handful of pink lady apples- other apples are suitable as well.
After washing your apples, slice thinly, preferably with an Oneida Slicer or an apple slicer, corer and peeler. (It depends how you want your finished product to look.)
Lay your thinly sliced apples either in a food dehydrator or on cooling racks.
If you are using cooling racks, simply place in the oven at 170 degrees for 4 hours or till the apples are dried to your liking. (These are more like apple chips.)
If you use a food dehydrator, follow manufacturer’s instructions. (I dried mine overnight. I unplugged them in the morning because I was too impatient to wait any longer. These were a little softer than my friend’s.)
Store in airtight container.
Enjoy your yummy apples for snacking.
